5.3.3. Labeling Environment Area
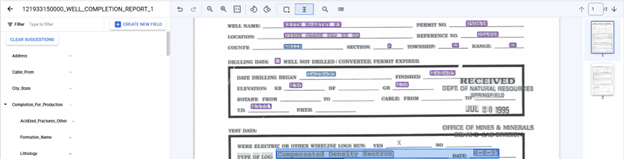
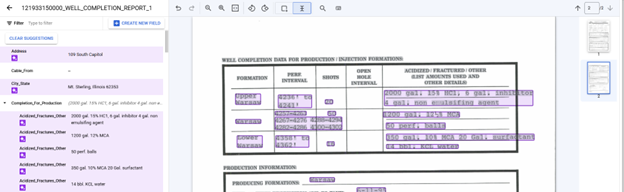
Labeling Environment Area
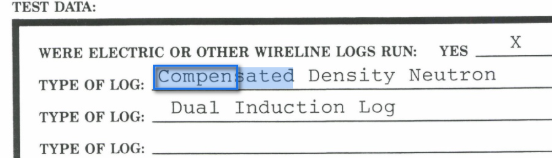
At the top of the Labeling Environment area is a toolbar with the tools (from left to right): Undo, Redo, Zoom Out, Zoom In, Zoom to Fit, Rotate Left, Rotate Right, Add Bounding Box, Select Text, Search, and Keyboard Shortcuts. The style of labeling is selected between either of tools Add Bounding Box or Select Text. The OGRRE Team found that using the Select Text Labeling Style for identifying Labelable Text (particularly Checkbox Data Type Labels) and switching to the Add Bounding Box Labeling Style to make a Label was often the fastest and easiest method.

Bounding Box Labeling Style
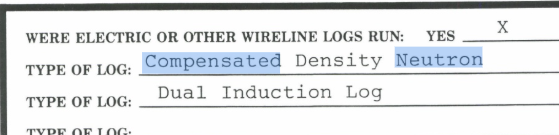
In the Add Bounding Box Labeling Style all Labeling is performed by drawing bounding boxes over the text to be labeled; for the best results the Bounding Box should tightly fit the bounds of the text. Note: Any text that is identified by the OCR as part of the same word will be included as part of the label will be highlighted in blue.
Select Text Labeling Style
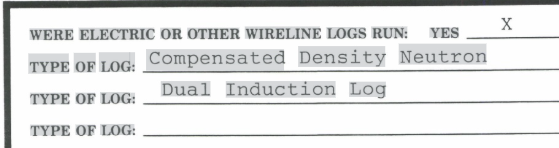
In the Select Text Labeling Style all text identified by the OCR is highlighted in grey, conveniently showing where a label cannot be added because the text failed to be detected; Labeling is performed by selecting text in a similar manner as for Text Editors except slight variations in text height can put adjacent text on separate lines allowing for some text to be unexpectedly skipped or included in the Selected Text.
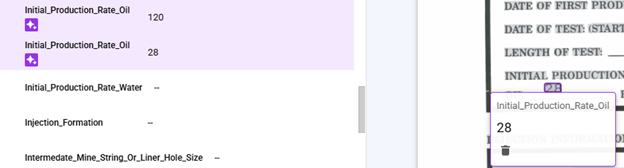
Change Field of Label
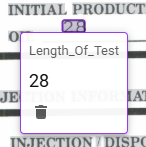
The Field of a Label can be changed from within the Labeling Environment Area by mousing over the Bounding Box which will cause a Popup Box with the Label information to be displayed. By clicking on the Field Name a dropdown of the available Schema Labels is the used to select the correct Field.
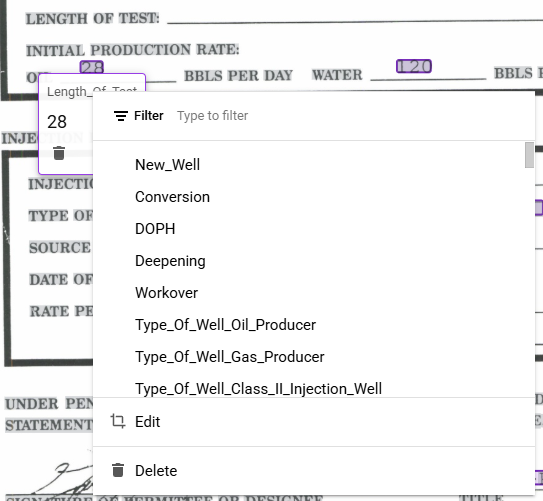
Delete Label
A Label can be deleted from within the Labeling Environment Area by mousing over the Bounding Box which will cause a Popup Box with the Label information to be displayed. By clicking on the trash can symbol the Field Label associated with the Bounding Box will be deleted.


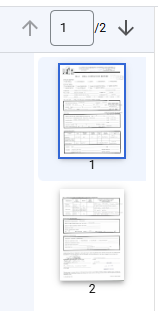
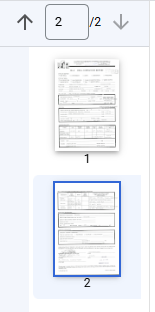
Page Selector Area
The Page Selector Area is used to switch between Pages of a Document by clicking on the Up Arrow or Down Arrows, typing in a Page Number, or clicking on the Page Image. When the Page is switched all three Labeling Interface Areas are updated, the Labels and Actions Area will only display Labels present on the Active Page, the Labeling Environment Area will display the Active Page, and the Page Selector Area will show the Active Page Number and Active Page Image will be highlighted with a blue boarder.
Switching Document
At the bottom of the Labels and Action Area is shown the buttons used to Switch between Documents with the "Mark as Labeled" button, the Left Arrow, and Right Arrow. The "Mark as Labeled" button when will save all annotations and advance to next document. The Left Arrow is used to return to the previous Document and on the Right Arrow will advance to next Document. Note: If any changes to the Labels have been made both the Left Arrow and the Right Arrow will trigger a popup window in the middle of the Labeling Environment Area asking to confirm, "Discard unsaved changes?" before switching Documents.

