Importing JSON/CSV records
Use Import JSON/CSV when you already have extracted record data, such as an OGRRE export or data prepared by another extraction tool. You can create and review these records without connecting a processor or uploading document images. Images and a processor can be added later.
To digitize documents with a processor instead, see Upload documents.
Before you start
You need access to the project and permission to upload documents
(upload_document). Creating a record group through import also requires
create_record_group. If an action is missing, ask your administrator to check
your roles for the current team.
Prepare one UTF-8 .json or .csv file using a supported format below. Import
adds records; it does not update existing records with matching filenames.
Prepare a JSON or CSV file
These fictional examples contain the same two records:
JSON
OGRRE accepts its own JSON exports and import packages with a nonempty records
array. For data from another tool, use this package shape:
{
  "format": "ogrre-json-records-v1",
  "records": [
    {
      "name": "Example well 001",
      "filename": "example-well-001.pdf",
      "attributesList": [
        { "key": "operator_name", "value": "Example Energy", "confidence": null },
        { "key": "well_number", "value": "001", "confidence": null }
      ]
    }
  ]
}
Give each record a stable filename and each attribute a key. name is the
record's display name. A filename identifies the source document; including it
does not upload the document or attach its images.
A processor schema is optional. Without one, OGRRE derives fields from the
imported attributes. JSON can also preserve raw_text, normalized_value,
confidence (0–1 or null when unknown), page (zero-based),
normalized_vertices, and nested subattributes. Use JSON when you need this
metadata; attaching an image later does not generate it.
If a JSON package supplies a new schema, applying it requires database schema
mode and manage_schema. Replacing an existing group schema also requires
manage_schema_destructive. Importing records alone does not replace a schema;
omit the optional schema definition when you only want to append records.
CSV
Use a header row followed by one row per record. A file column provides the
source filename, an optional name column provides the display name, and field
columns become attributes:
file,name,operator_name,well_number
example-well-001.pdf,Example well 001,Example Energy,001
example-well-002.pdf,Example well 002,Example Energy,002
OGRRE accepts its CSV exports in this form. It preserves field column names as
attribute keys and skips empty field cells. Subattributes can use bracketed
column names, such as operator_address[street]. Quote values containing commas
or line breaks according to CSV conventions. Export a spreadsheet as CSV before
importing it; Excel workbooks are not accepted directly.
Create a record group by importing
- Open the project.
- Open the three-dot Actions menu beside the project name and select Import JSON/CSV record group.
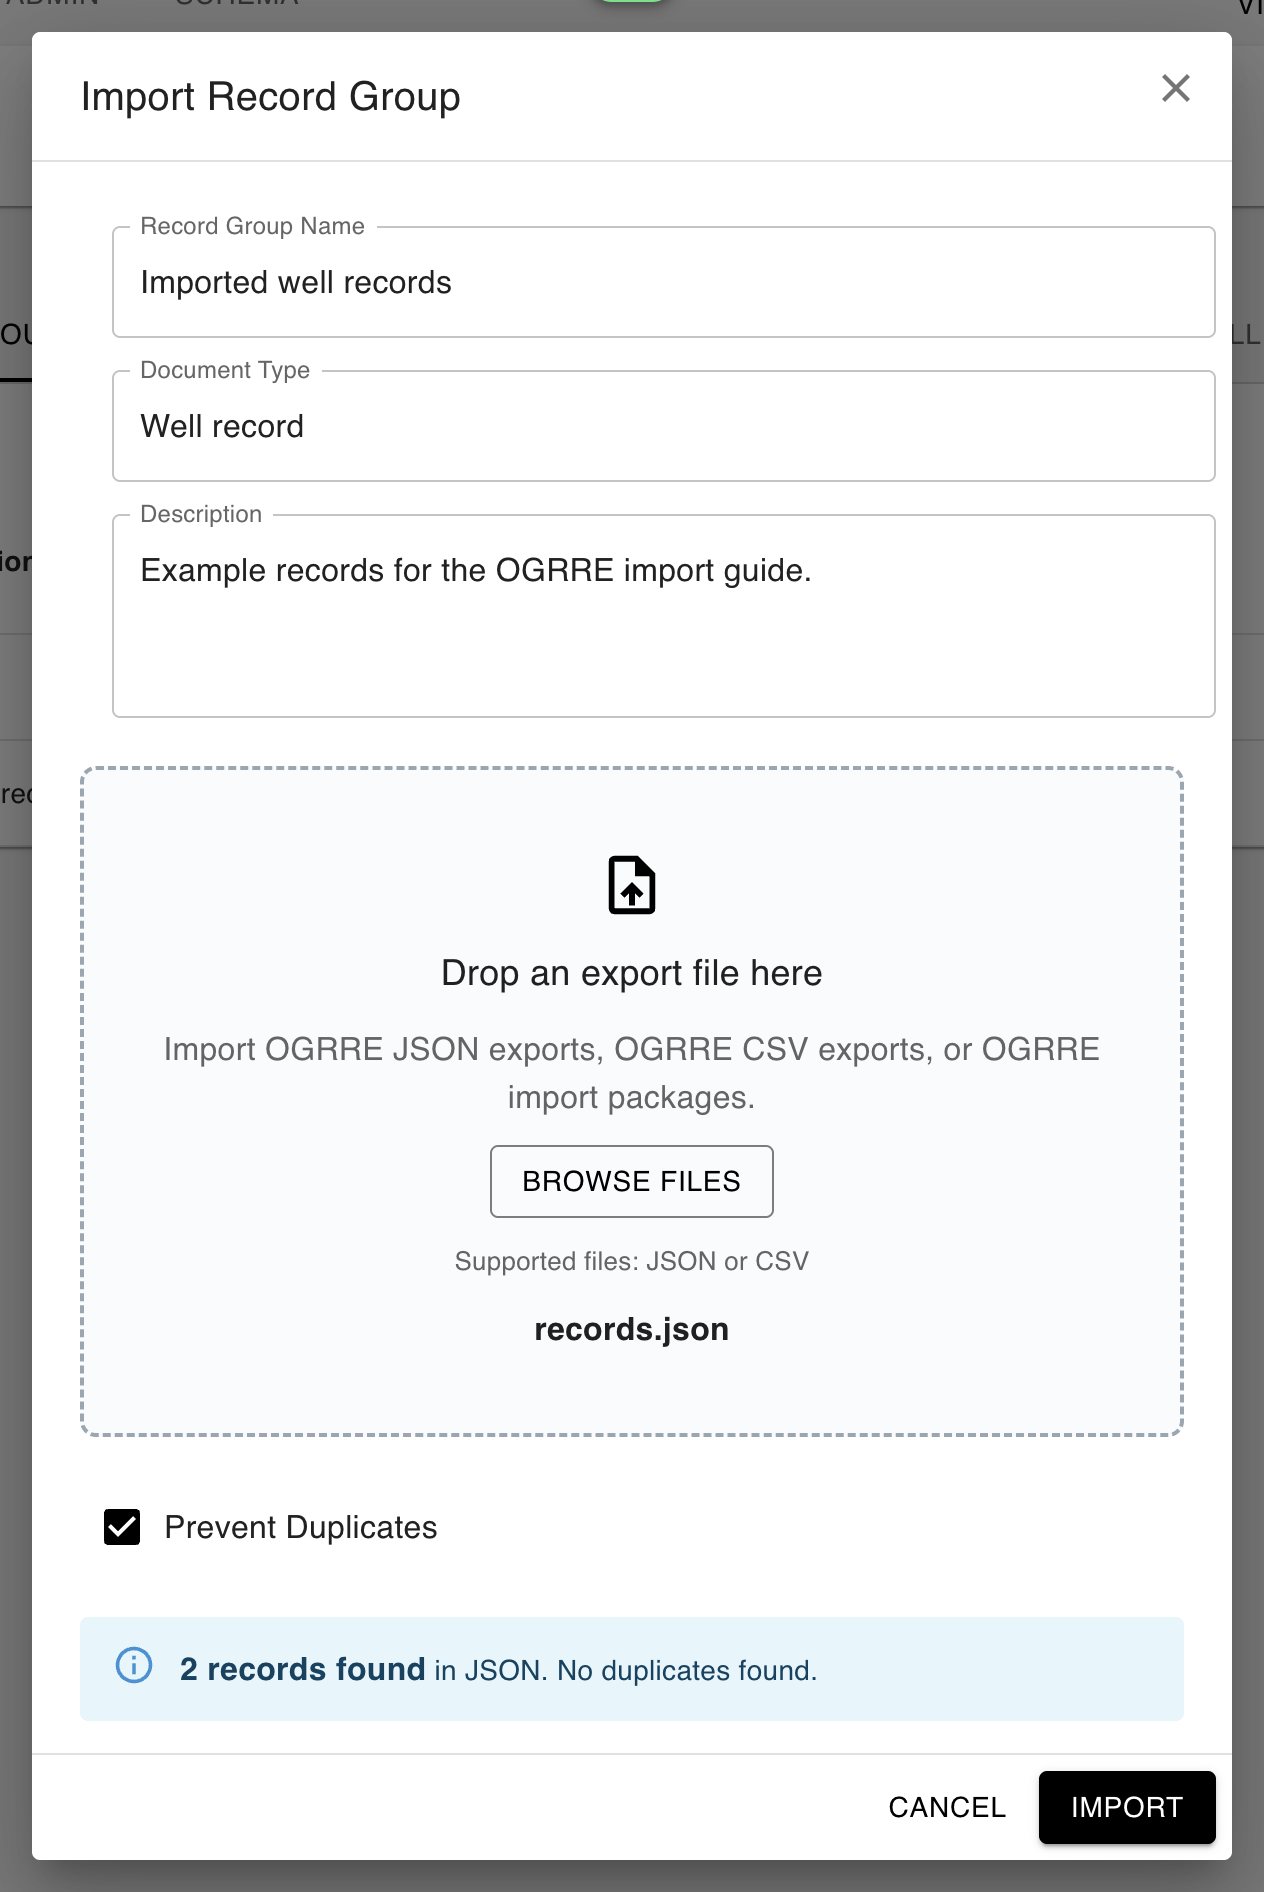
- Enter a Record Group Name. Set Document Type and Description as needed; entering a document type does not connect a processor.
- Browse for or drag in the JSON or CSV file.
- Wait for the preview. Check the record count and duplicate summary. Keep Prevent Duplicates enabled unless you intend to create duplicates.
- Click Import. OGRRE opens the new record group when the import succeeds.
The new group has no processor. You can open its records to review or edit the imported fields immediately. Records without supplied status metadata start as digitized and unreviewed; the import itself does not run document extraction.
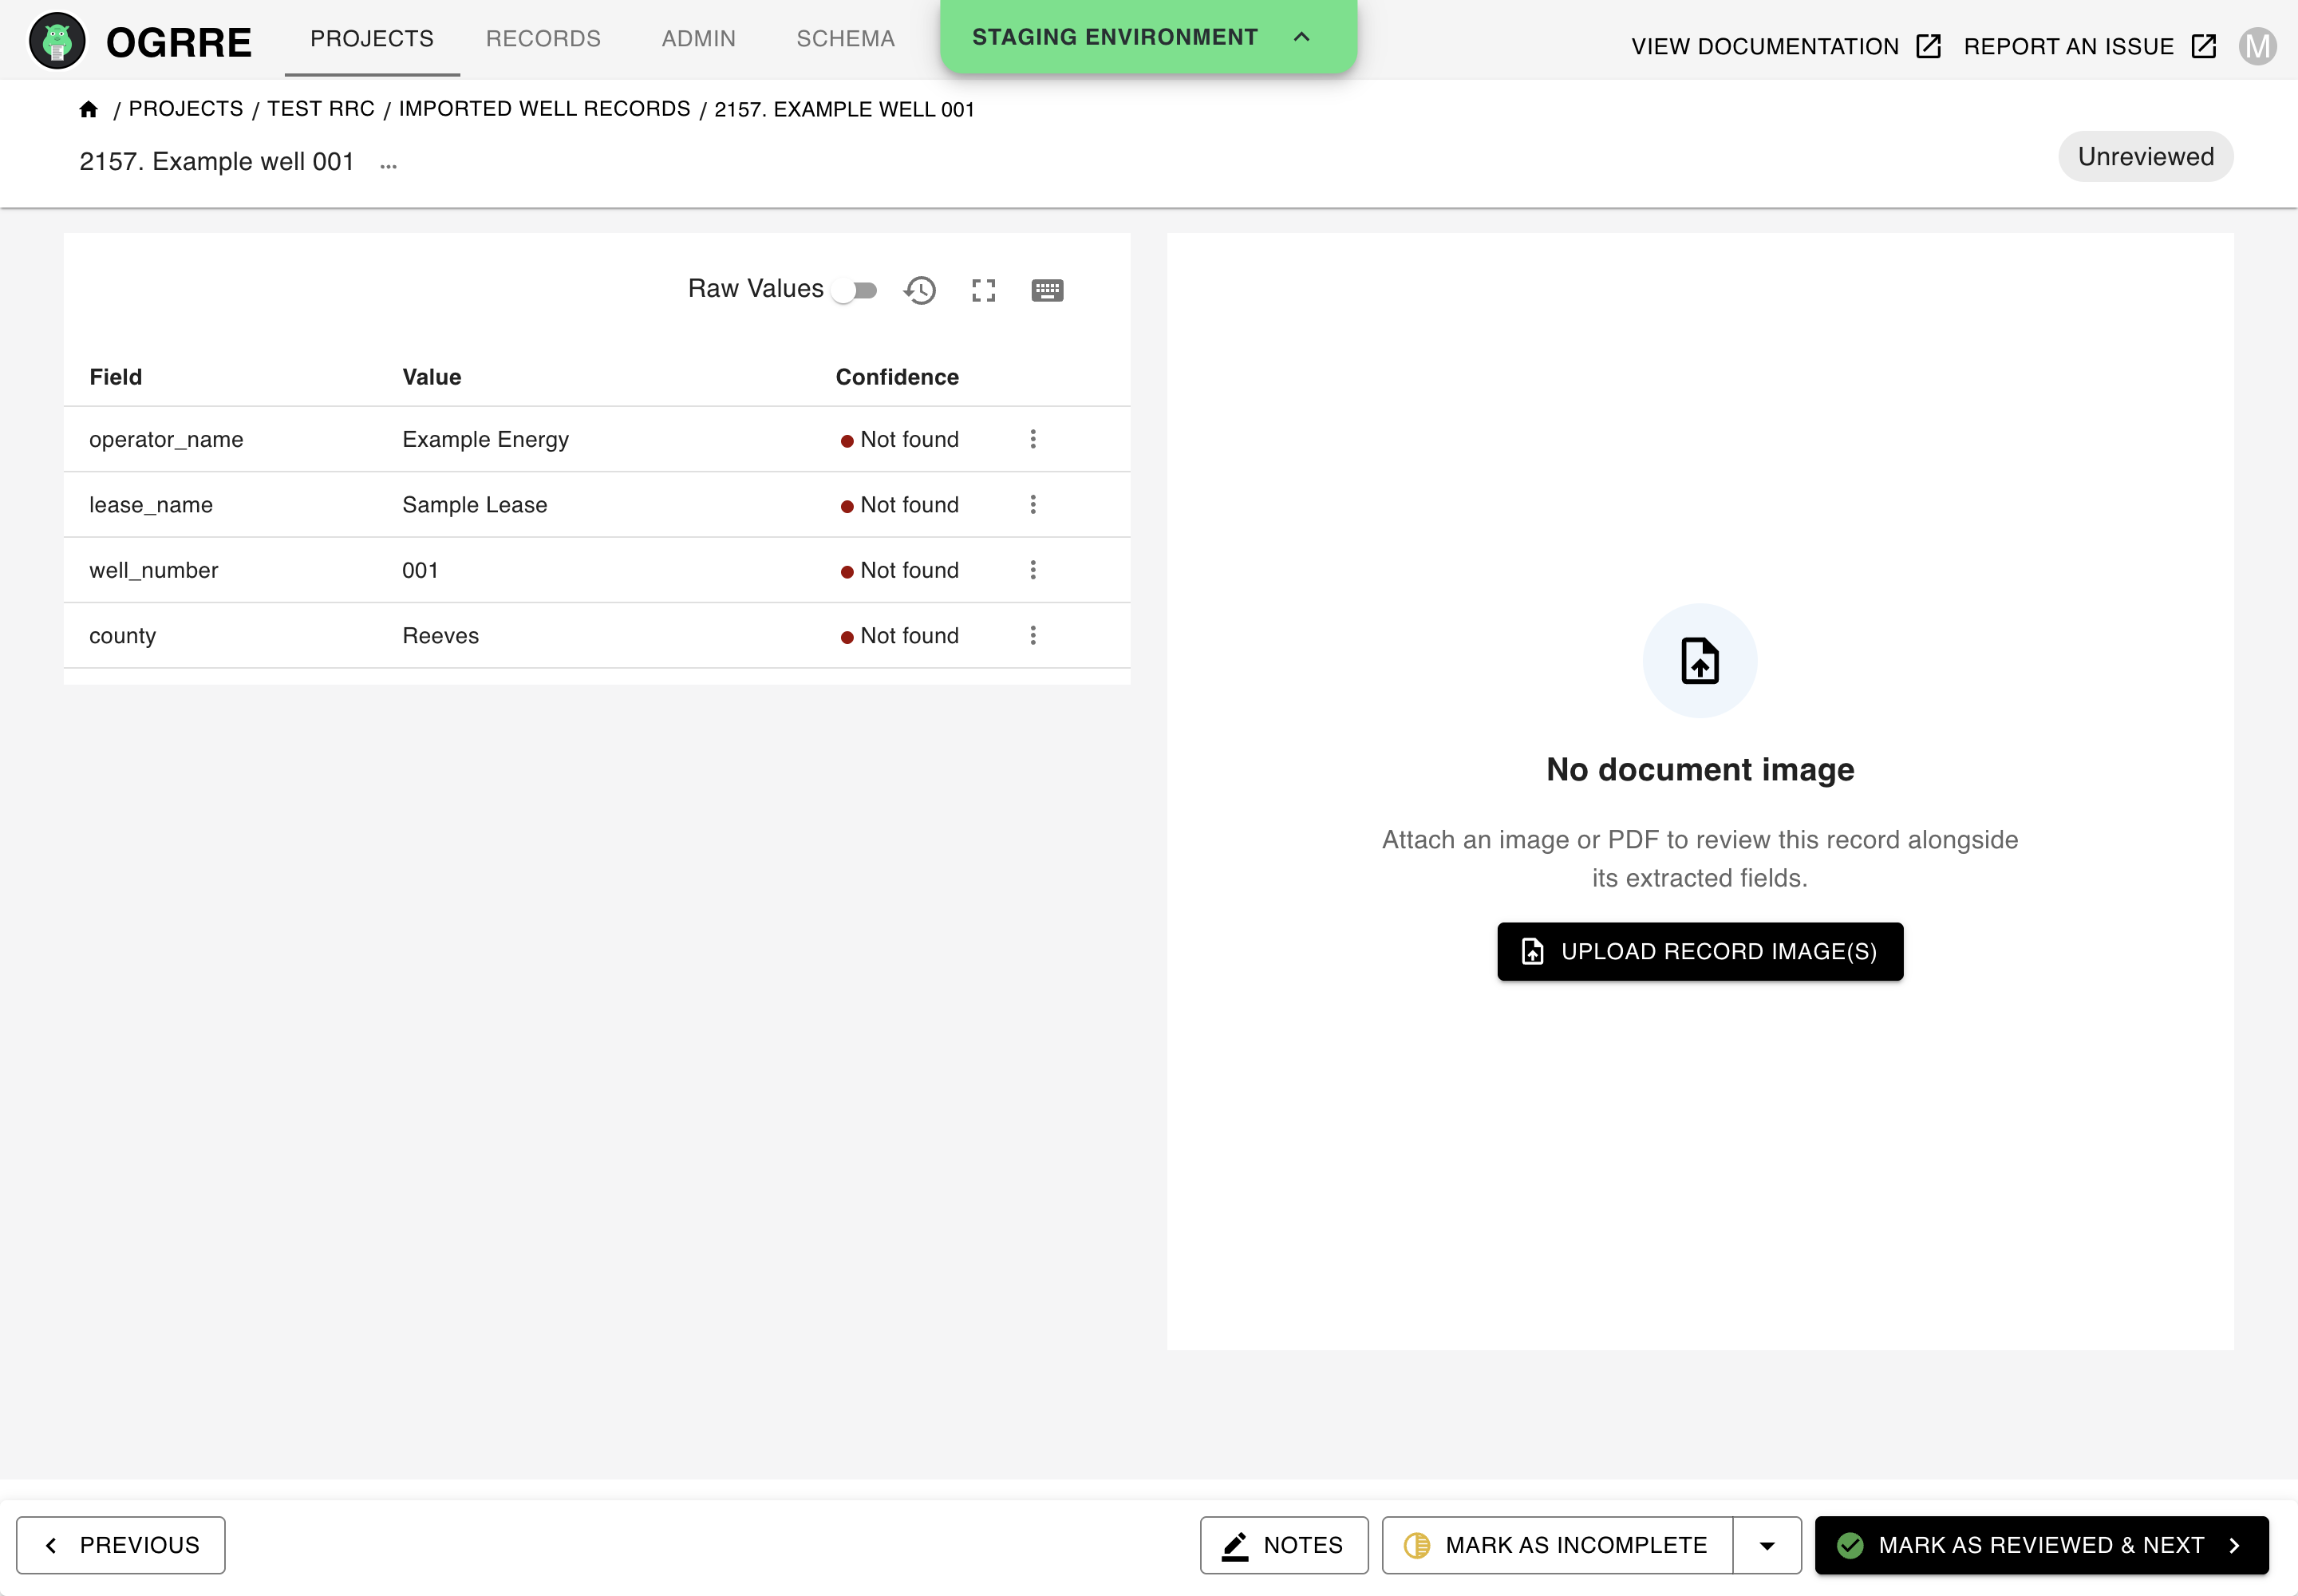
For imported attributes with confidence: null, the current UI labels the
confidence cell Not found, even when a value is present. The sample files
omit confidence scores; review their values against the source document.
Import into an existing record group
Open the record group and select Actions → Import JSON/CSV records. In a group without a processor, Import JSON/CSV records is also the main page button. Choose a file, review the preview, and click Import.
This action remains available in the Actions menu after a processor is connected.
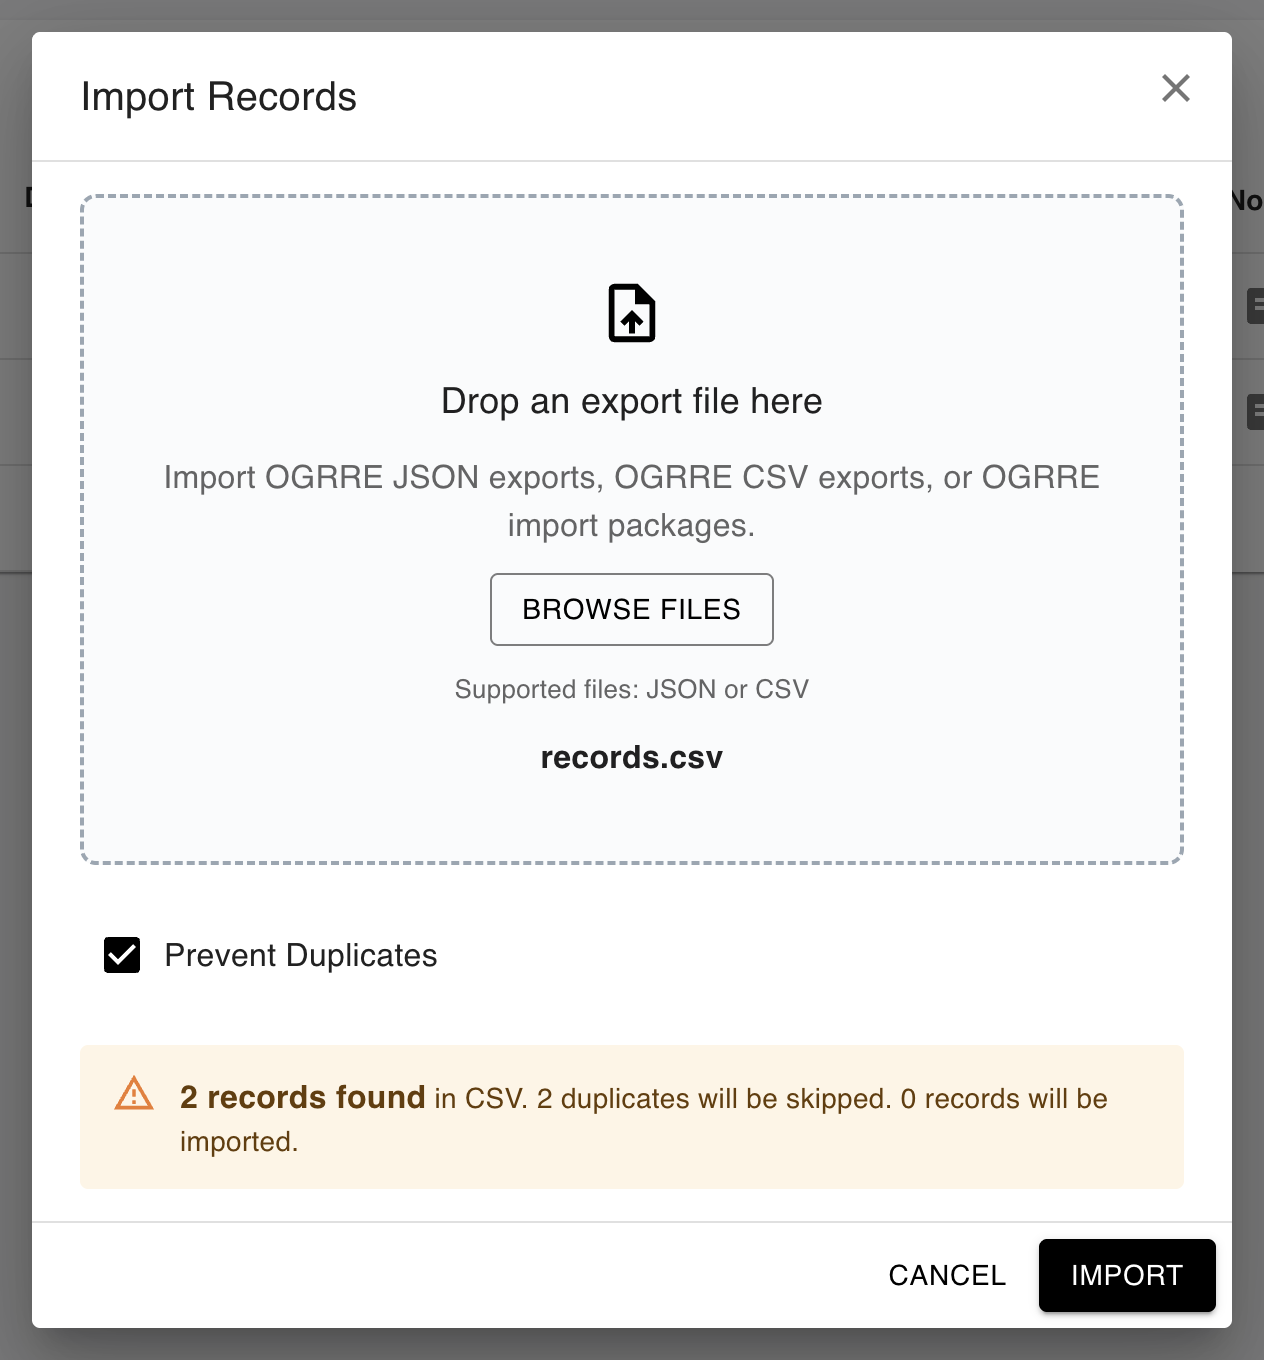
Prevent Duplicates checks filenames against records in the current group and
against earlier records in the same import file. The comparison uses the filename
without its path and final extension: for example, example-well-001.pdf and
example-well-001.png match. The check does not compare extracted field values.
With prevention enabled, duplicates are skipped. With it disabled, duplicate records are created alongside existing records; existing values are not replaced. If the preview reports zero importable records, cancel or choose another file. Resolve any parsing or validation error shown in the dialog before importing.
Add images or PDFs afterwards
For the example records, use the PDF for Example well 001 or the PDF for Example well 002.
- Open an imported record that has no images.
- Click Upload record image(s) in the empty document pane, or select the same action from the record's Actions menu.
- Select one or more PNG, JPG/JPEG, TIFF/TIF, or PDF files for that record.
- Check the file count and click Upload Images.
- Review the imported fields alongside the attached document.
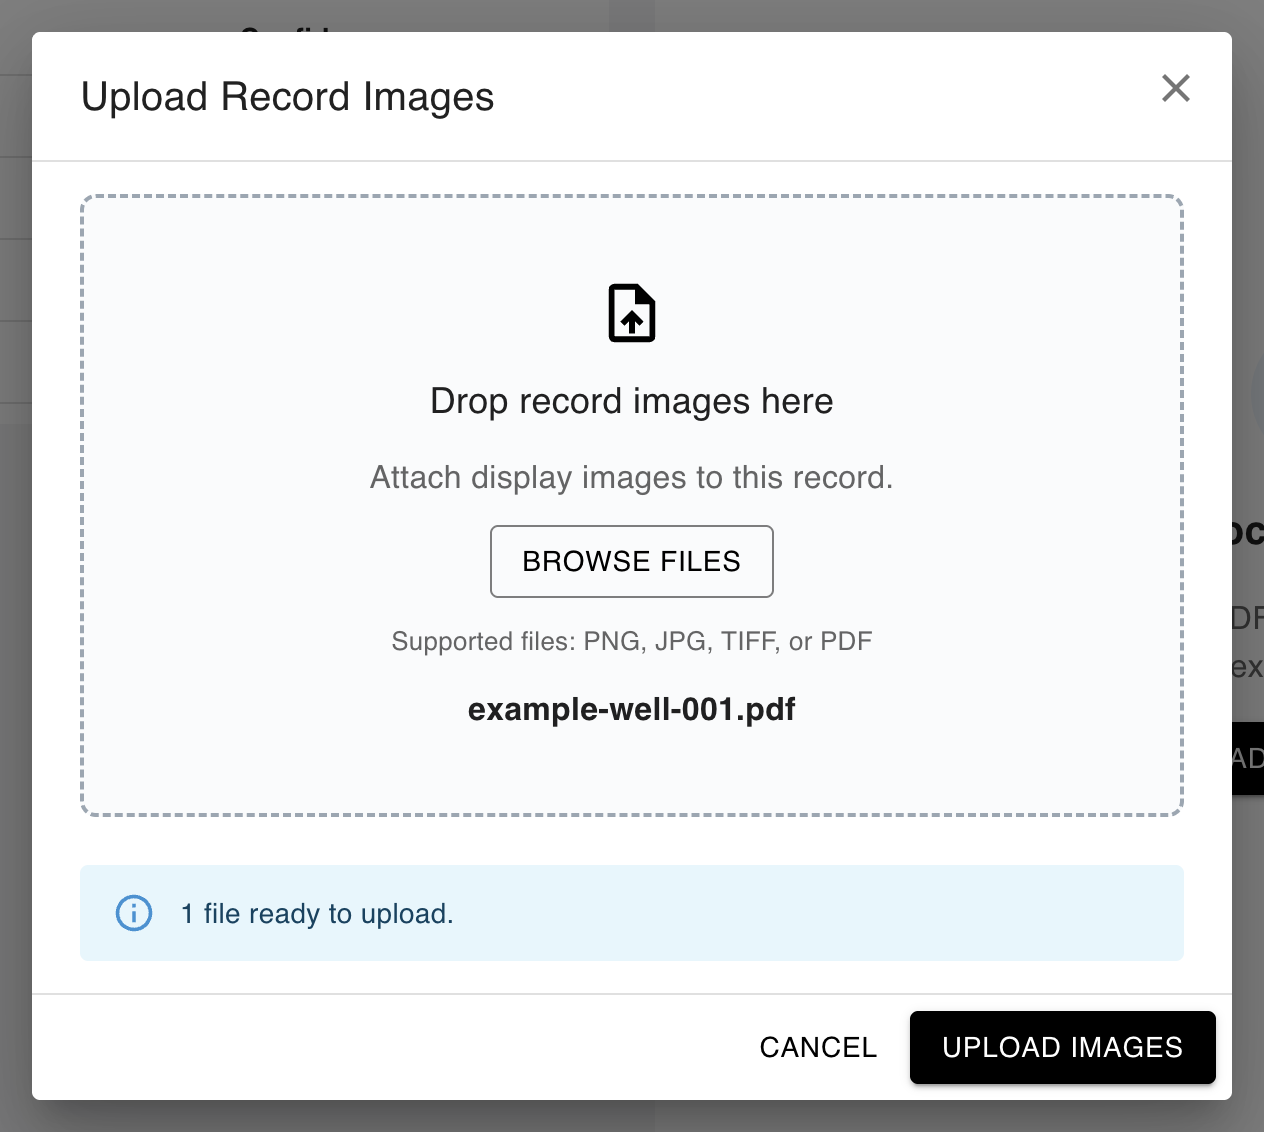
The upload belongs to the record you opened. It does not match a folder of images to records by filename. PDF and TIFF pages are converted to display images. Select all files needed for the record together: the current UI offers this action only while the record has no images and is not queued or processing.
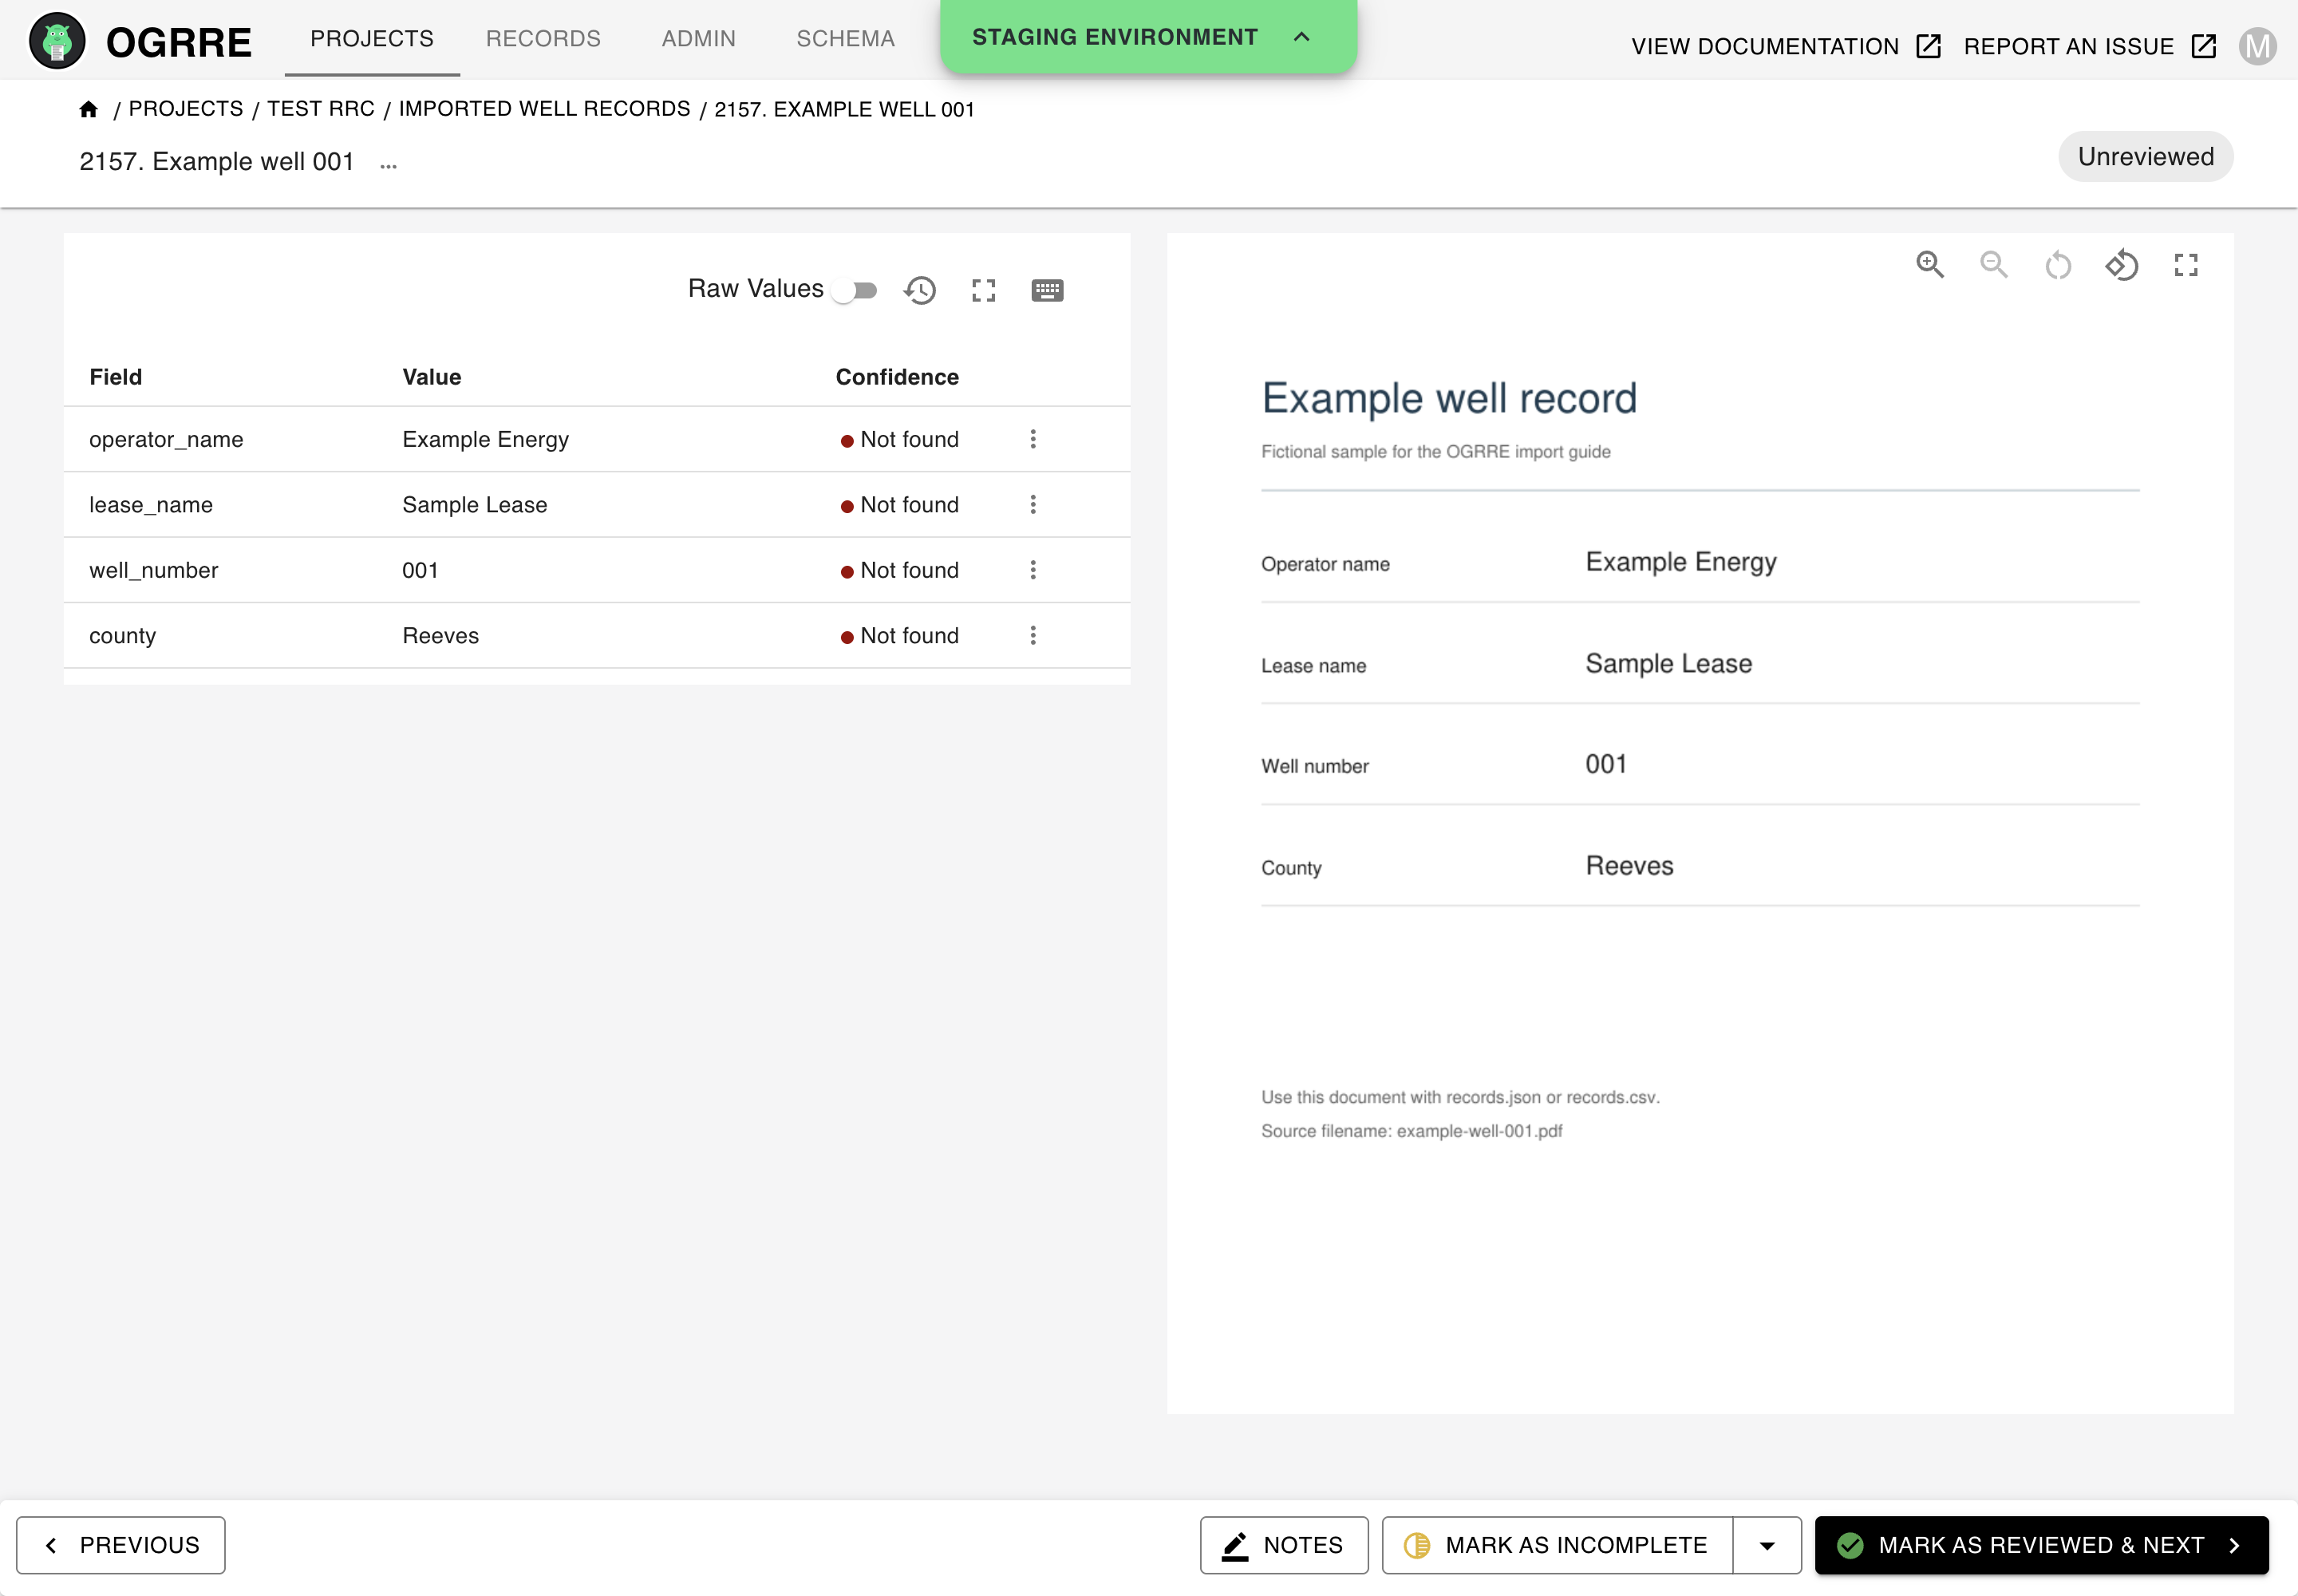
Attaching images preserves the imported values. It does not run a processor, extract new values, or create field highlights. Highlights need page and coordinate metadata in the imported data.
Connect a processor afterwards
Connecting or replacing a processor requires both manage_schema and
manage_schema_destructive, and a configured processor in the active catalog.
An administrator can follow
Connecting processors if none is available.
- Return to the record group.
- Select Actions → Connect processor.
- Select the appropriate processor and click Connect Processor.
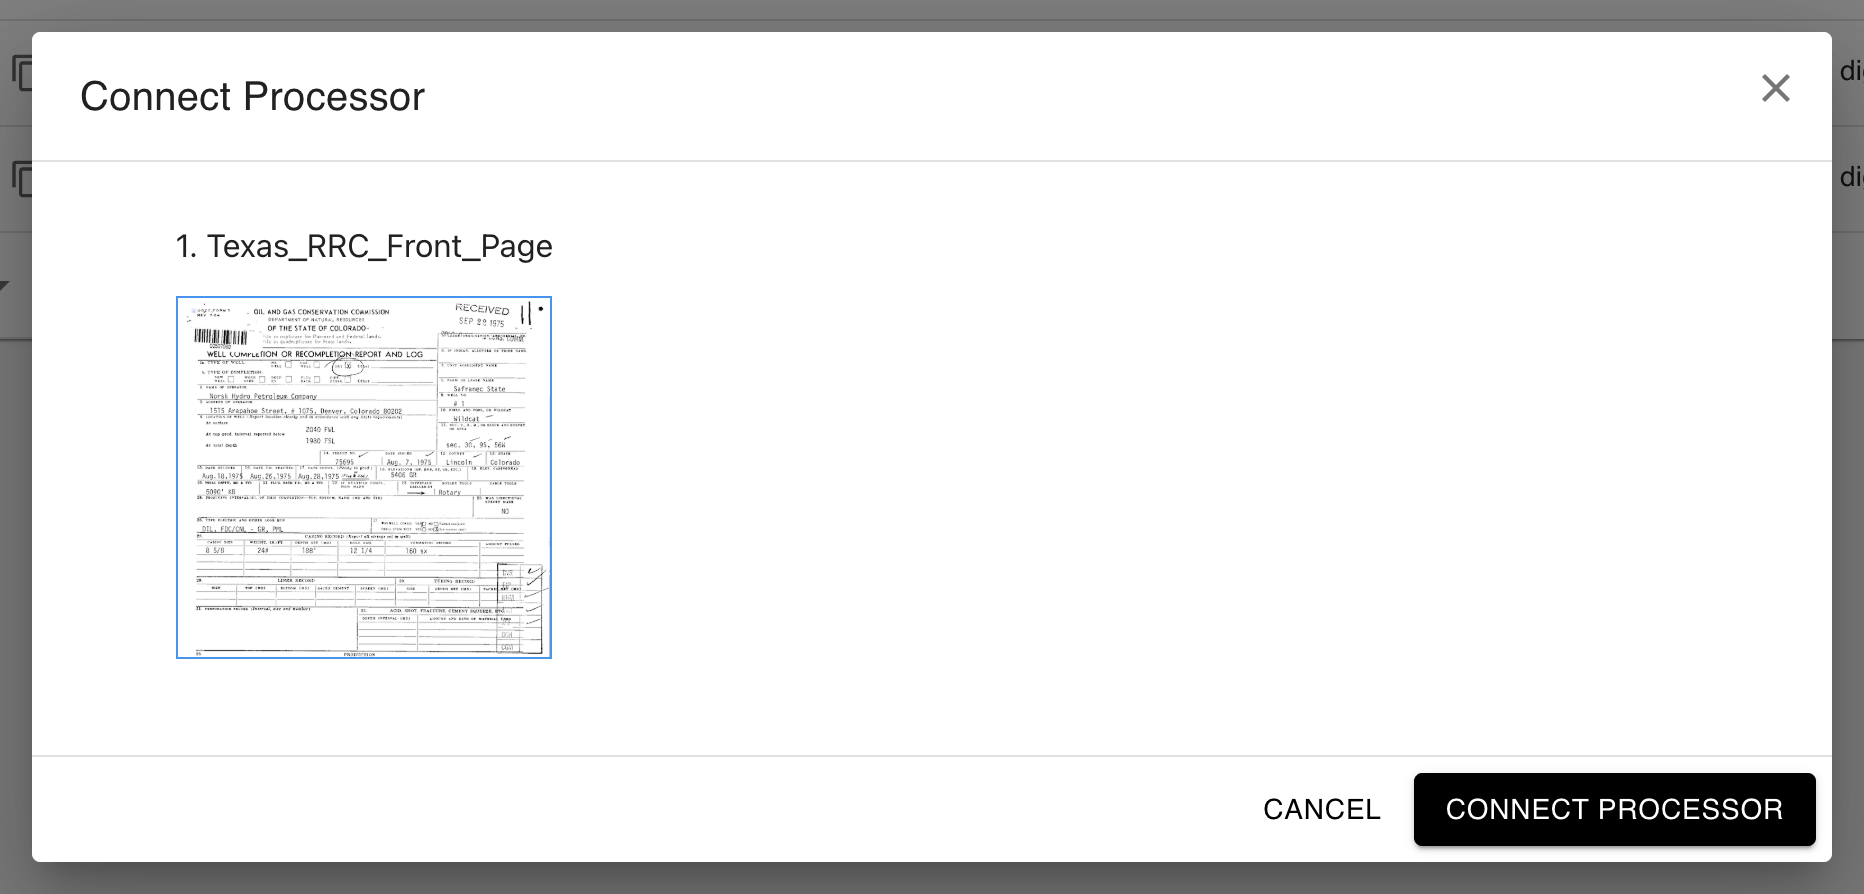
This sets the group's processor, document type, and schema. Existing imported attribute values and attached images are retained. Connecting does not automatically reprocess the records or run cleaning functions.
The main page button changes to Upload new record(s). Use it to upload new documents for extraction with the connected processor, deploying that processor if needed. Import JSON/CSV records remains in the Actions menu for additional data imports. The same Connect processor action can also replace a group's processor, so choose one whose schema fits the records.